Wednesday, August 20, 2014

Spoonflower Challenge: Day 11-20

I just realized it's been another 10 days of the sketch per day "Spoon challenge" I've been participating in from Spooflower.com.   That makes 20 sketches total!! I really feel good about this because its been helping me to cultivate a good habit.  

I feel like the purpose of this challenge (at least for myself) is not to try to create a work of art, or the best picture each day; It's to just draw something...every day.  Not miss a few days and then catch up.  It defeats the purpose in my mind.  I'm not saying for other people that's bad, they can do what they want.  But for myself, this is my goal. 

 It can be a little scary posting your work for all to see.  Sometimes people (intentionally or unintentionally) make fun of it, or don't like it.  I'm not saying this happened to me, but it could happen, and I guess that maybe it does without me knowing.  And sometimes you spell something wrong and get embarrassed...okay that did happen...but it was really late...that's my excuse anyway.  Sometimes you put something out there that you think is great...and then you get no response.  It's just the way it is.  

I think what's important is to just keep trying and learning as I go, and not worry about what others may think because I'm doing what I love!  I know I will get better, because I can already tell a difference after 20 days.  Just think what a year would do!  


 The first few sketching include handwriting because that was part of the challenge.  We were asked to work on lettering and I enjoyed it, even though it's not something I normally do.


Prompt #6 "lemon"
All I could think of was this quote by Ina May Gaskin.  She's a midwife...you can look her up. 


Prompt #7: "Book" 
This one surprised me because I didn't take much time on it, and don't really like it.  The funny thing is, it has the most likes by far of all my drawings.  I don't know what to think of that!


Prompt #8: "Arrow"
To be honest, this is one of my favorites of the word art prompts, but I don't think anyone else really likes it at all.  I still do.  :)


Prompt #9: "Tea"
I got this phrase from a bumper sticker that Mountain Rose Herbs gave to me when I was at a Mother Earth News Fair in Puyallup, WA.  I love it, so I made my own version. 


Prompt #10: "Toast"
I really wish I had more time with this. I think it could've been a lot better


Drawing #16
These are sketches for a fabric design contest I'm participating in from CreativeLive.  I'm sure I'll talk more about this later. 


Drawing #17
The sketches from Saturday became a lot fancier.


Prompt #11: "Platypus"
This one I thought was cute, but don't look too long. I'm told it's kinda inappropriate.   Really, it's supposed to be a mommy and baby platypus okay?! 


Prompt #12: "Hedgehog"
He's kind of cute.  Might be fun to work more with him later. 


Prompt #13: "beetle"
I needed to draw lady bugs anyway so this was fun.


And here is my extra.  This was my second attempt at the "lemon" prompt.  It was late, and all the sudden I had an idea for another sketch.  I was so proud of myself and thought it was great, so I took a pictures and posted it, then went to bed.  When I woke up, I had a comment left on Facebook...that basically made me feel like an idiot...I spelled a word wrong.  I'm sure you already noticed.  I'm glad though someone said something, because it may have been a long time before I actually noticed!!!

Well that's all for this week.  In another 10 days, we will see where this takes me!!

Saturday, August 16, 2014

Glue Freaking Basting!

I have something I want to tell you about, but it's not something I invented.  I just wanted to get that straight in the beginning.  You may already know about this because it's become very popular lately.  That's okay, because I know I'm just jumping on the bandwagon, but I want to share with you how much I like it anyway. It's called glue basting...or I call it glue freaking basting...because I like it so much!!

You can read about glue basting from Cristy Fincher on her blog here!  She is the one I learned it from, and she has all kinds of information about it.  I highly recommend visiting her page.

So basically all you need to glue baste, is a bottle of Elmer's Glue, the special fine pointed glue tips from Cristy Fincher that you can purchase at purpledaisiesquilting.com or sharonschamber.com, and an iron.  I was lucky and won the glue tips in a giveaway, but they are very inexpensive.  

That little tab on the top of the glue tip is from a clothing tag.  It just fits perfectly in there to act as a lid.

Now all you do, it's just as simple as this:  Take the pieces of fabric you are going to seam, run a thin line of glue along the edge of one side, place the other piece on top, and briefly heat set the edge with the iron.  

There you go.  It's done.  Now sew your seam and see how easy it is.  It doesn't move, it doesn't pucker, it keeps everything in line so you can have perfect seam, and it makes sewing go by so fast.  

Some may think that glueing is going to be time consuming, but I personally don't think it is.  Pinning takes time too, but this just is so much easier to me than pinning.  Then you may say, "Well I don't pin smaller pieces".  Well I don't usually either.  But that doesn't always turn out so accurate.  If you are doing a quick baby quilt, then yes, you might not need to do the glue basting.  But if you want all your quilt seams to match up, this will help a great deal.  

The first time I tried this method, I was sewing large pieces together.  I made this Big Star quilt by Jeni Baker, that later turned into a Big X, with borders.  I thought I would test it out on this, but soon realized that sewing long pieces of fabric together with glue basting is the BEST way to go.  

I had to climb in a tree to take this picture. :)
Do you ever get annoyed when your fabric shifts, even though you carefully pinned the entire seam?!?  I do!!  Sometimes a walking foot will help with this, but I have found that glue basting works even better! The fabric doesn't shift because it can't shift.  So really, you could use glue basting for anything from curtains to dresses.  Anything that may slip or shift, even if you use pins or a walking foot.  It just makes life sew much easier.  :)

And the cool thing is, just spraying  a little water on it will undo the glue if you made a mistake or don't want it there.  Elmer's Glue is washable, so once your project is thrown in the washer, it all goes away.  But really it's such a small amount that you don't really notice it anyway.  

Look how nice and straight these fabric strips turned out!


And of course, it's always nice when your seams match up like this:

Fabric by Bari J. from Art Gallery Fabrics

I also recently made this mini quilt by Elizebeth Hartman called Love Triangle.


There you have it, that's Glue Freaking Basting in a nutshell! 


Sunday, August 10, 2014

Spoonflower Challenge: Days 1-10

I have been wanting to get back into drawing lately...actually I always want to but don't make the time for it.  So when Spoonflower, (A site for designing and printing your own fabric) invited everyone and anyone to join their one month of drawing "Spoon Challenge", I accepted right away!  Each week they give us a theme and a prompt per day, and then you tag your picture with #spoonchallenge.  I guess they take the weekends off for prompts, but I've been drawing since the 1st anyway.  I have really enjoyed it so far, but I'm kind of all over the map with my style.  I haven't done this is so long that I don't really care.  I'm just having fun, and I'll see where it leads me!  I thought I would share the first 10 days, and then every 10 days from there. 

Day 1 

I had this song in my head when I woke up the first day.  It's by Noah and the Whale and it's called  "2 Bodies 1 Heart".  Go check it out it's a good song. :)


Day 2

The Jackalope...except my husband informed me that a jackalope is a jackrabbit plus antelope...and this looks like neither.  Let's just say it's a baby and then I can try this again with the proper antlers and rabbit body.  


Day 3

These were fun, and I called them "Healing Flowers", not because they are literally medicinal flowers but because pretty flowers will brighten your day. 


Prompt #1: Cactus

It's a cactus heart.  I'm not too fond of this.  


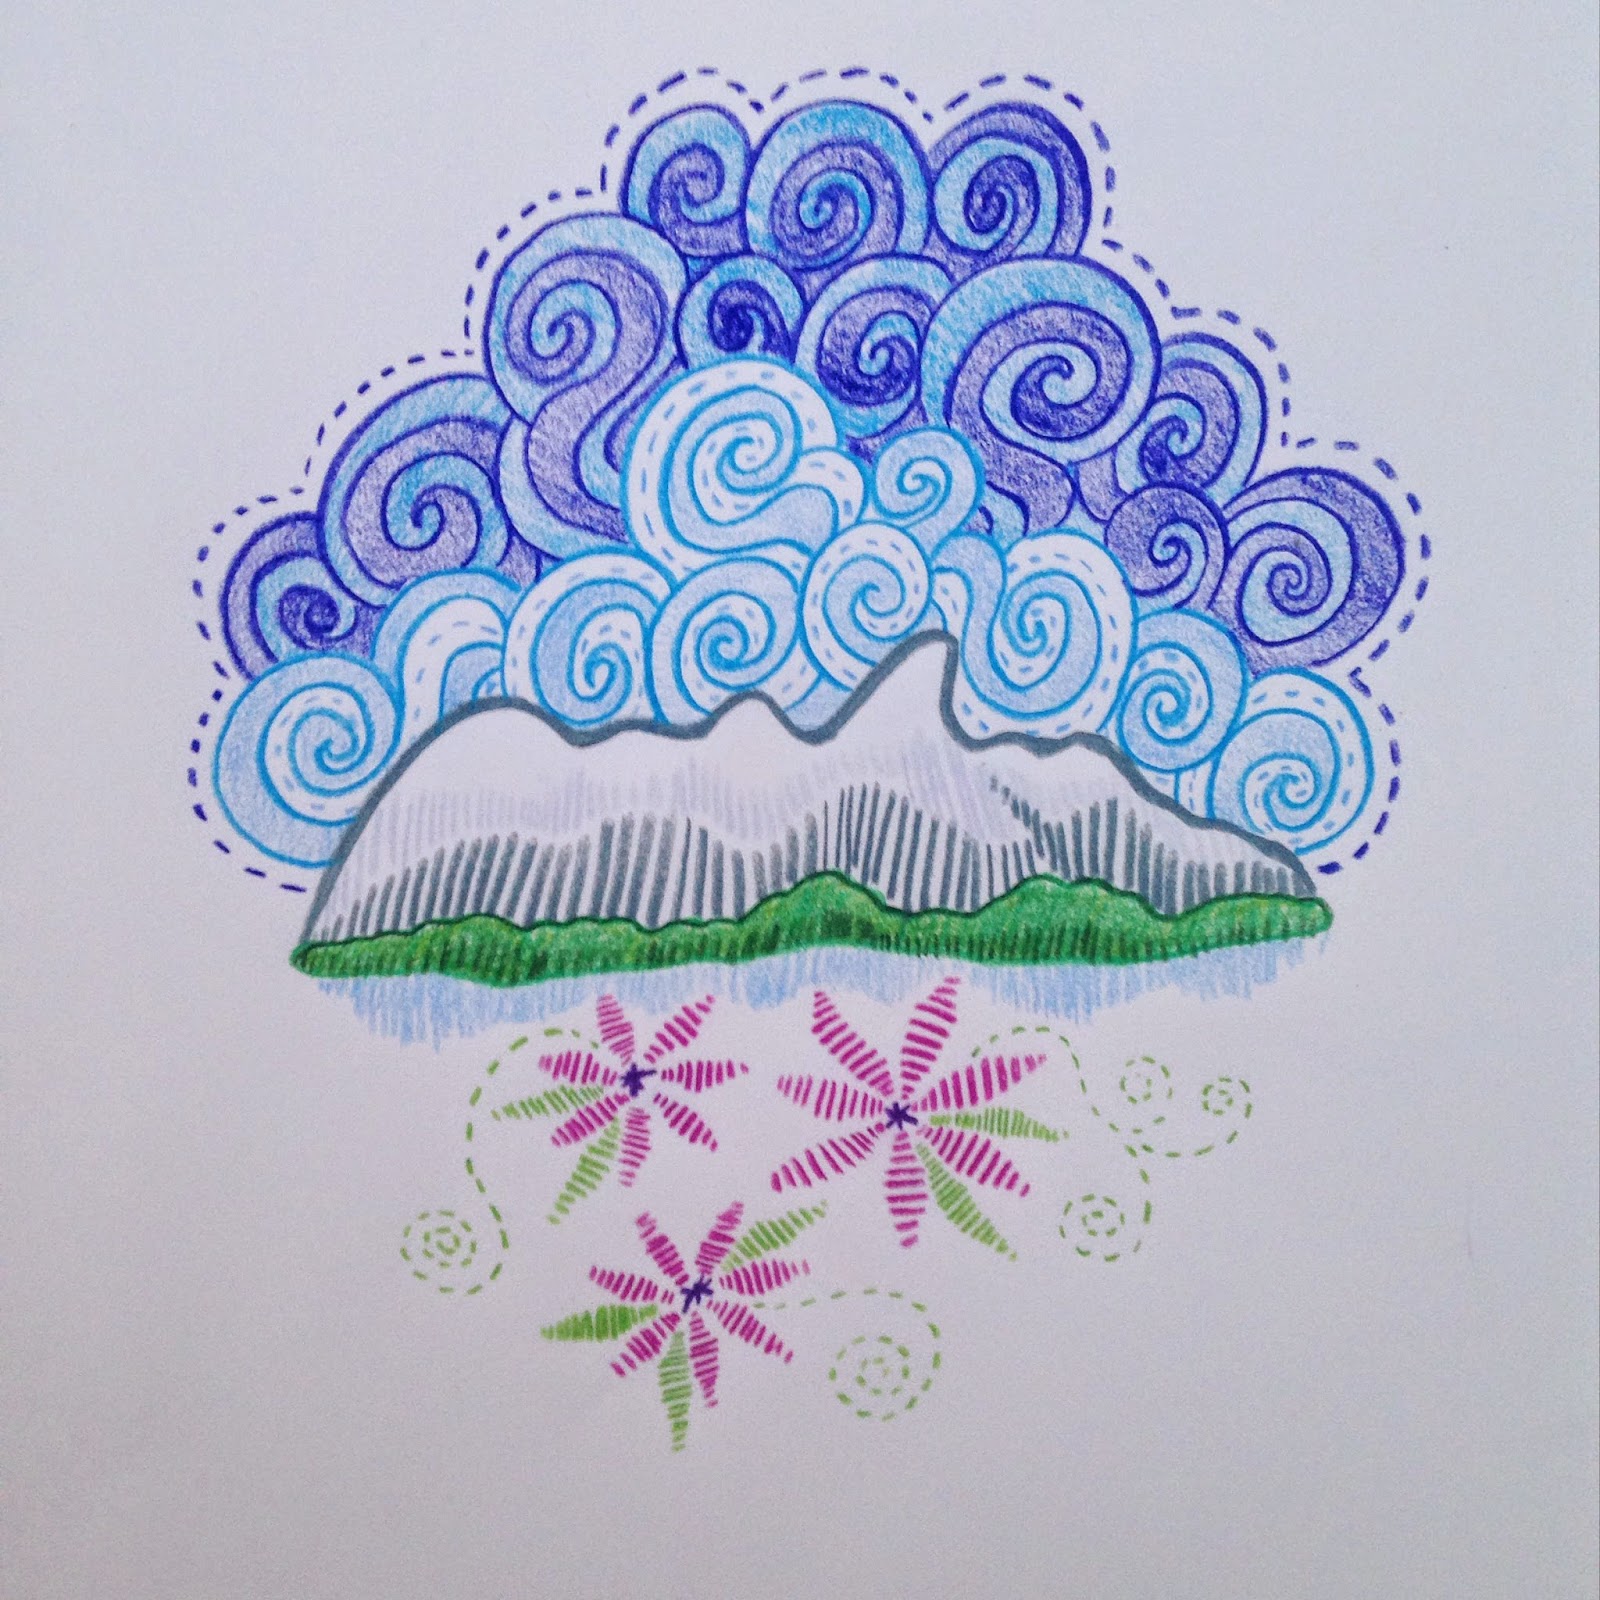
Prompt #2: Mountain

I decided to do the Teton Mountain range.  If you already knew that, I like you. :)


Prompt #3: Tree

This was the Pear tree in my uncle's yard.  It's really pretty but I don't know if this picture does it justice.  


Prompt #4: Landscape

All I could think of were crop circles.  We are surrounded by cornfields so I guess that's why.  


Prompt #5: River

This one just evolved.  I picked up a cheap pen and started drawing.  Then later I added colored pencils.  I had fun with it! 


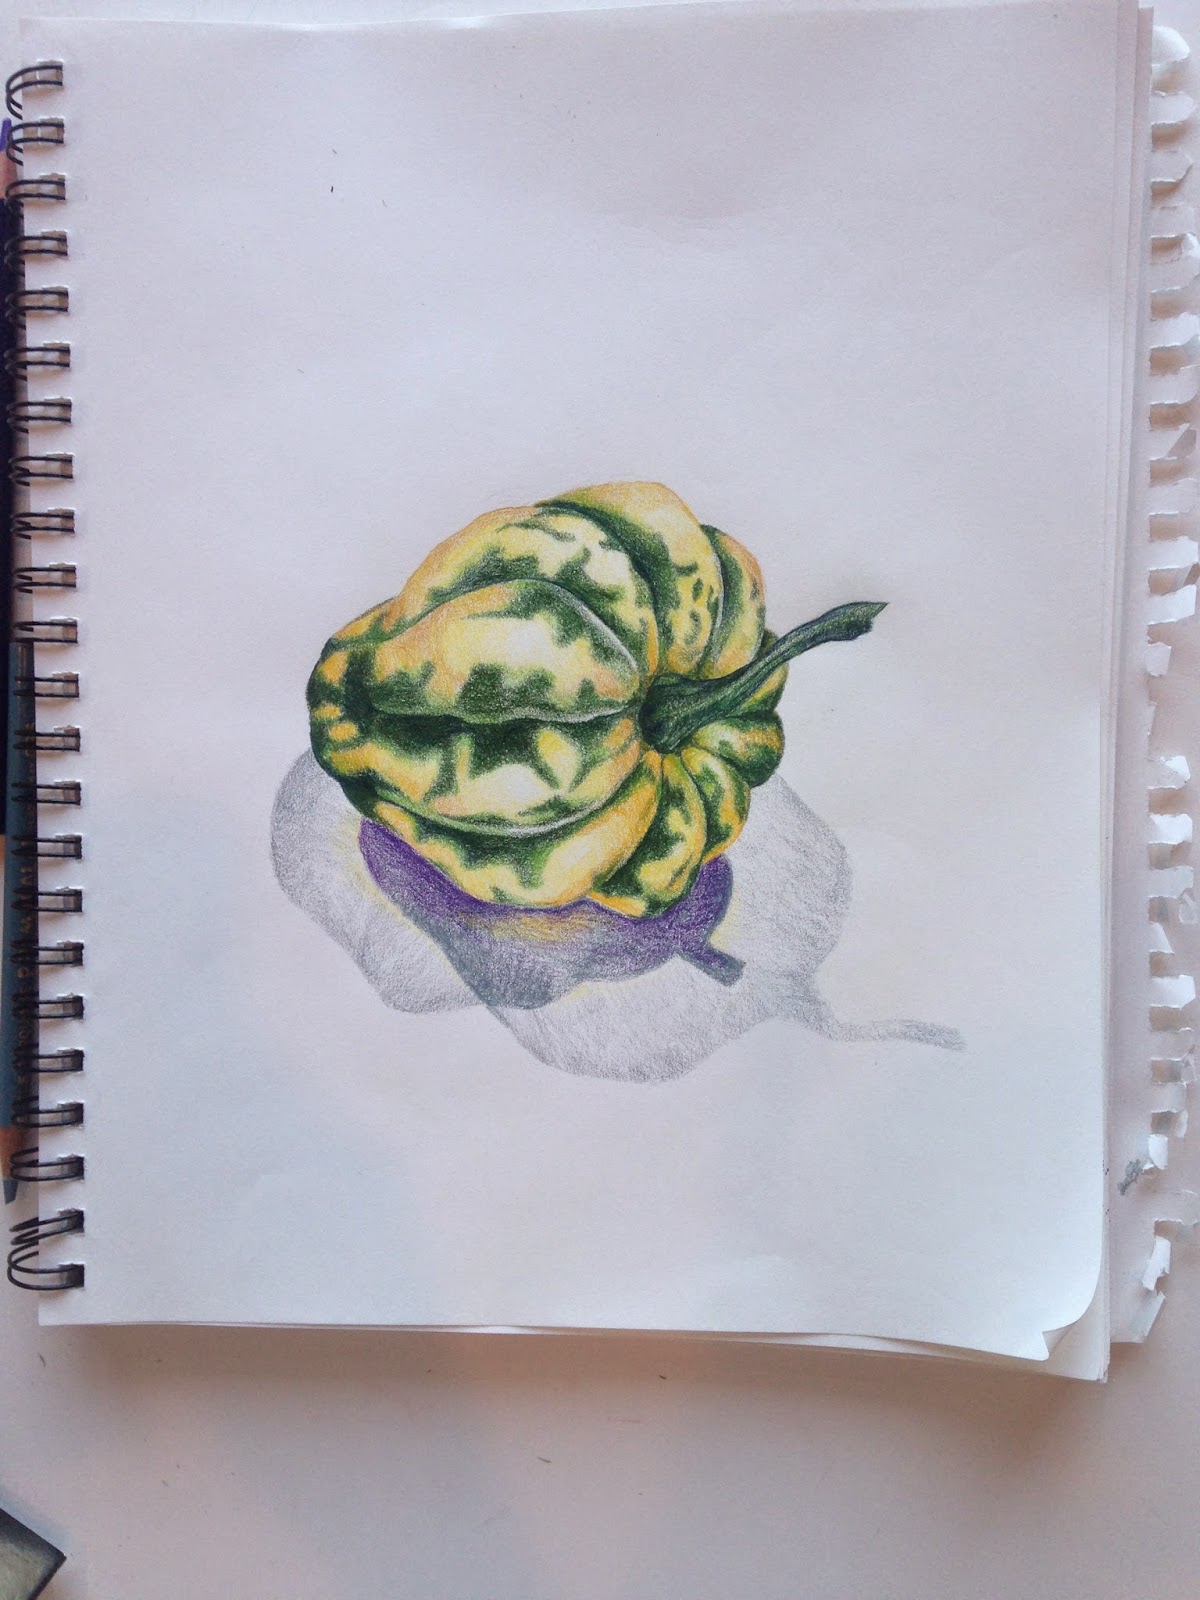
Day 9

We have a lot of summer squash growing in the garden.  Some ended up yellow, green and then this one with it's interesting design.  I have a whole bowl of them that maybe I could do later...if I can find the time!  This was done completely with Prismacolor pencils.

Day 10

These are some mint leaves I plucked from my plant, also done with Prismacolor pencils.  The only thing I didn't think about was that lack of water means...it will shrivel up fast!  So it was a little frustrating when the leaves started curling before I even realized what was happening.  I had to kind of wing it towards the end.  It's okay though, it was just practice.  They smelled good at least!

Thanks for stopping by! Let's see what the next 10 days bring!


Saturday, July 26, 2014

My "Aviatrix" QAL Adventures!

Since mid-May, I have been participating in a quilt along hosted by Elizabeth Hartman of Oh Fransson.  (It's a work at your own pace kind of thing, so if you like to quilt, please go check out her site and take a look at her gorgeous Aviatrix Medallion quilt.  You can follow along in Instagram as well with #aviatrixmedallion.) 

 I really do seem to end up making a lot of Elizabeth's quilts, but it can't be helped!!  She has some really beautiful designs, and this one just had me at hello.  I had to do it!  

That being said, I think this is the most involved quilt I have ever made.  She had me planning and making a fabric color chart, cutting hundreds of teeny tiny pieces and placing them in bags organized by specific borders, and marking maybe thousands of dots to make sure things line up right.  Whew!  It was tedious, but I am so glad I did it, because I learned a lot and I LOVE the result.  

Here are some of the progress photos:

Cutting and organizing

All cut and ready to go with my color chart as my guide.


Just to give you and idea, I couldn't figure out why this quilt was so heavy when I finished, but then I realized...there are so many seams in it and all that extra fabric really adds up!!


I built my colors around Bonnie Christine's "Sweet as Honey" fabric line from Art Gallery Fabrics.  I absolutely love her style.  It wasn't easy coming up with fabric from my stash to complement everything just right, (I have a very limited budget so I try to use what I've got) but I think it worked out.  

Hope you enjoy the pictures of the final product!


I'm pretty proud of it, I know. :)

My husband actually took a lot of pictures of me with this quilt, without me realizing that I had no makeup on!!  Oh well, I guess that's cool now right? Keep'n it real. ;)


Thought you might need to look at this random baby picture too. 


My husband is patiently waiting for me to be done.
 I like looking at quilts from far away.  This is not even my house.  Ha ha! The owner doesn't even know I took pictures on his porch.

...It's ok, it's my neighbor...and by neighbor I mean my uncle. 


Thanks for stopping by!
  

Thursday, July 17, 2014

Kid's Crafts: Stenciled Pillowcases!


I went to the store for glue, and came back with stencils, 4 plain white pillow cases and some sponge brushes.  Typical.  But who would've guessed that Walmart sells such cute animal stencils?  Anyway, they caught my eye, so this is what we did with them, plus some fabric paint I already had.


If you want to do this too and can't find fabric paint, you can use regular craft acrylic paint.   I've done it before, it works!  Just remember to heat set it with an iron before washing and you're good!


We put a cardboard box inside the pillow case to protect the other side from bleeding paint.  I had paper plates for the paint, and plastic spoons to scoop it out.  

Since there wasn't much room on the table, and I knew my kids would need a little help, I decided to have one child work at a time.  I like to keep my messes contained!


Seriously these cheap stencils are pretty cute! The kids were thrilled to be able to choose the animals they wanted on their pillowcases.  


I had to teach them each how to dab the brush up and down without scrubbing it.  We also didn't want any big globs of paint.  Sometimes they needed a little guidance from me, but mostly I just let them at it while I helped to hold the stencil. 


 This 6 year old caught on pretty well.


My eight year old did most of it on his own.  I helped hold the stencils every now and then.


This one surprised me with how careful she was.  For a 4 year old, she did great.  I just held the stencils for her while she painted.


She was very proud of her work. :)


The last thing we did was heat set the paint with the iron.  This step also seems to melt the paint into the fabric more, making it feel smooth.  I was a little worried the paint would be scratchy on their faces, but after the heat setting, I threw them in the washer and they came out just fine!  I tested it out myself and there is no scratchiness.  :)  


Thanks for stopping by!