Saturday, July 26, 2014

My "Aviatrix" QAL Adventures!

Since mid-May, I have been participating in a quilt along hosted by Elizabeth Hartman of Oh Fransson.  (It's a work at your own pace kind of thing, so if you like to quilt, please go check out her site and take a look at her gorgeous Aviatrix Medallion quilt.  You can follow along in Instagram as well with #aviatrixmedallion.) 

 I really do seem to end up making a lot of Elizabeth's quilts, but it can't be helped!!  She has some really beautiful designs, and this one just had me at hello.  I had to do it!  

That being said, I think this is the most involved quilt I have ever made.  She had me planning and making a fabric color chart, cutting hundreds of teeny tiny pieces and placing them in bags organized by specific borders, and marking maybe thousands of dots to make sure things line up right.  Whew!  It was tedious, but I am so glad I did it, because I learned a lot and I LOVE the result.  

Here are some of the progress photos:

Cutting and organizing

All cut and ready to go with my color chart as my guide.


Just to give you and idea, I couldn't figure out why this quilt was so heavy when I finished, but then I realized...there are so many seams in it and all that extra fabric really adds up!!


I built my colors around Bonnie Christine's "Sweet as Honey" fabric line from Art Gallery Fabrics.  I absolutely love her style.  It wasn't easy coming up with fabric from my stash to complement everything just right, (I have a very limited budget so I try to use what I've got) but I think it worked out.  

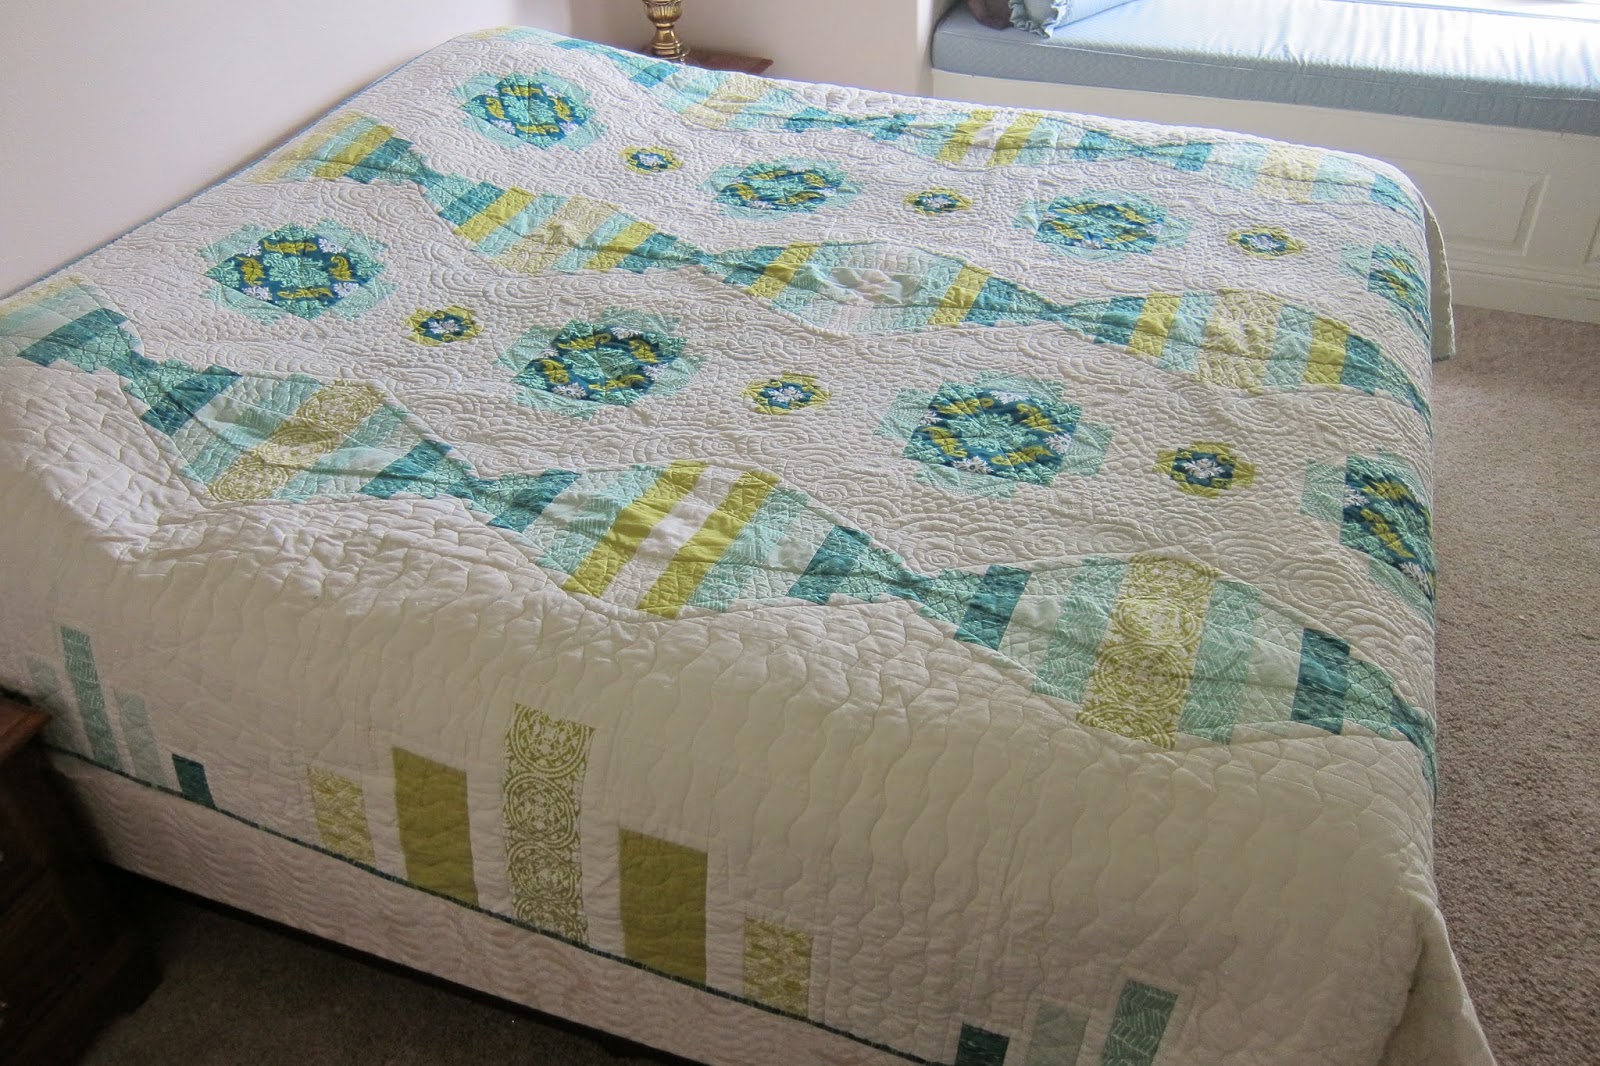
Hope you enjoy the pictures of the final product!


I'm pretty proud of it, I know. :)

My husband actually took a lot of pictures of me with this quilt, without me realizing that I had no makeup on!!  Oh well, I guess that's cool now right? Keep'n it real. ;)


Thought you might need to look at this random baby picture too. 


My husband is patiently waiting for me to be done.
 I like looking at quilts from far away.  This is not even my house.  Ha ha! The owner doesn't even know I took pictures on his porch.

...It's ok, it's my neighbor...and by neighbor I mean my uncle. 


Thanks for stopping by!
  

Thursday, July 17, 2014

Kid's Crafts: Stenciled Pillowcases!


I went to the store for glue, and came back with stencils, 4 plain white pillow cases and some sponge brushes.  Typical.  But who would've guessed that Walmart sells such cute animal stencils?  Anyway, they caught my eye, so this is what we did with them, plus some fabric paint I already had.


If you want to do this too and can't find fabric paint, you can use regular craft acrylic paint.   I've done it before, it works!  Just remember to heat set it with an iron before washing and you're good!


We put a cardboard box inside the pillow case to protect the other side from bleeding paint.  I had paper plates for the paint, and plastic spoons to scoop it out.  

Since there wasn't much room on the table, and I knew my kids would need a little help, I decided to have one child work at a time.  I like to keep my messes contained!


Seriously these cheap stencils are pretty cute! The kids were thrilled to be able to choose the animals they wanted on their pillowcases.  


I had to teach them each how to dab the brush up and down without scrubbing it.  We also didn't want any big globs of paint.  Sometimes they needed a little guidance from me, but mostly I just let them at it while I helped to hold the stencil. 


 This 6 year old caught on pretty well.


My eight year old did most of it on his own.  I helped hold the stencils every now and then.


This one surprised me with how careful she was.  For a 4 year old, she did great.  I just held the stencils for her while she painted.


She was very proud of her work. :)


The last thing we did was heat set the paint with the iron.  This step also seems to melt the paint into the fabric more, making it feel smooth.  I was a little worried the paint would be scratchy on their faces, but after the heat setting, I threw them in the washer and they came out just fine!  I tested it out myself and there is no scratchiness.  :)  


Thanks for stopping by!


Wednesday, July 9, 2014

The King Size Quilt

I finished this quilt at least a month ago, but it's not the easiest thing to photograph.  Also, there is a lot I need to say about it and takes me a while to gather my thoughts. 

First, this all came about after my grandma passed away in March.  I was living with her and taking care of her, so I suddenly found that I had time to do things...any thing I wanted to.  So, I thought a quilt for our bed would be nice.  And that meant I was going to make a king size quilt...something I've never attempted before.  The sheer size of this quilt was really the challenge.  But first, I need to tell you that this is my own design.  I made a few sketches and then drew the whole thing in Illustrator.  I am a novice...or even less than that when it comes to this program.  But I have been learning all I can about it lately.  It all started when my Industrial Designer brother gave me a quick tutorial on the basic functions of Illustrator.  I've learned a lot since then...but there is so much much more I need to know.  I can't wait to show you what I've been working on next, but it takes time...and I have four kids.  So I'm slowly but steadily working on being a better designer.  I love it!

So after I made my pattern, pieced it all together, and sandwiched it, I decided to free-motion quilt it on my regular sewing machine, as I saw fit.  At first I was just going to use simple lines, but then they became more involved than I'd originally intended.  On top of that, I took a Craftsy course about swirls, pebbles and all kinds of things.  (Here is a link if you are interested.  It's taught by Angela Walters and I think she is a great teacher!) This class just inspired me to be brave.  I know it was hard while I was working on it, because the quilt was massive and sometimes slung over my shoulder, and you could probably barely see me from underneath.  However, I feel pretty happy with the result, so I don't regret it.  I just don't want to do anything this massive in a long time...unless by some miracle I have a long arm machine.  Yes, that would be a miracle.

One thing I want to say before you look at the pictures...don't look at the naked box spring.  It has no bed skirt.  I'm still living at my grandparents.  I'm going to make throw pillows and fix it all up sometime...one thing at a time.  


The only thing I regret about this quilt, is that I am not a photographer, and so the pictures didn't turn out so great.  I had this great idea to take it to Chamber's Bay, in Lakewood, WA.  It's a beautiful place with this cool bridge that goes out on the water.  My idea was to hang it there.  Well, the wind was blowing, and the lighting was bad.  I may as well share our attempts.


One more thing: I decided to use Quilter's Dream Wool batting for this and I LOVED it! I think I will use it more often.  It's a little more fluffy than than the cotton batting I usually use, and shows more texture in the quilting.  It's also very cozy!!!

Thanks for taking the time to look!


Vacation in the Northwest!

We recently returned from vacationing with my family in the Northwest, where I was raised, and I have so many fun pictures I thought I should share some.  Maybe it will make you want to go too! (This is my way of getting my Arizona friends and family to move up here)...maybe?! Pretty please!?  Regardless it is such a beautiful place, and I always tell everyone, ESPECIALLY in the summer!!!

We did a little canoeing, a little hiking, watched fireworks from the cove on Harstene Island (we even participated in a Fourth of July Parade on the island), s'mores, swimming, fishing, searching for sea critters on the shore, tree swinging, croquet, lots of good food, and good times with my family. 


There were daisy's everywhere growing wild and my kids kept picking them and giving them to people.  If you got one, you are really special. ;)

Had to throw that in there.  I still use my Mei Tai and she is just over a year. :)


The famous swing at Harstene Point (It's been there since I was his age...probably longer...but they have improved it since then).


On the way home we took a detour up to Sunrise on Mount Rainer.  It was a perfect day to go, soooooo BEATIFUL!!  Too bad the pictures aren't that great...they are a little blurry. 


The kids with Grandpa

My Family

Thanks for stopping by and hope you are having a wonderful summer!